With the wide application of pulse electronic fence in life, more and more people have recognized and selected the pulse electronic fence. Recently, many users have sent us a message asking: "How to debug the electronic fence", in order to facilitate more users Using the electronic fence, the passenger-European security today uses the X6P network pulse electronic fence as an example to introduce how to debug the electronic fence.
Preparation before installation and commissioning
Before installing and commissioning, we will prepare the required products.
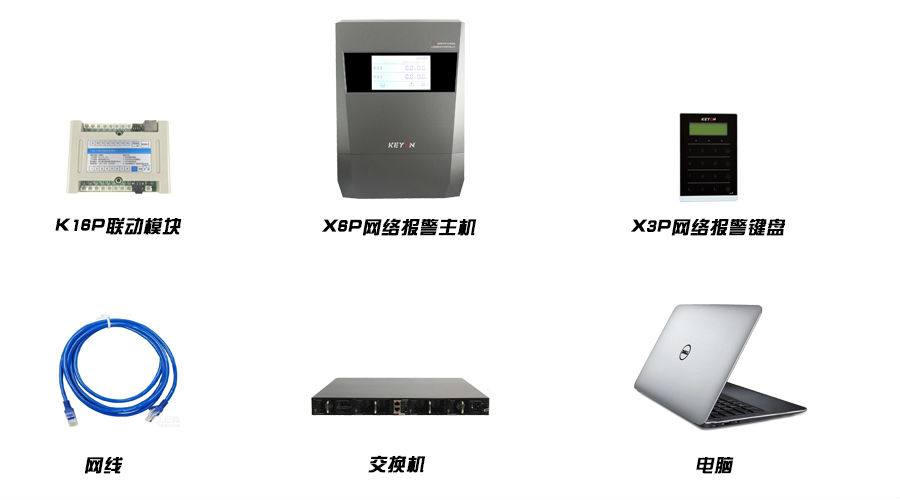
1. One X6P network alarm host 2. One network alarm keyboard 3. One linkage module 4. One switch 5. One computer 6. One network cable 7.12V power supply
How to set the network alarm host IP
First power on the network host, and then use the switch and network cable to connect one or more network hosts to the computer.
Modify the alarm host port to match the alarm keyboard port via the computer local connection-attribute-network port (make sure the link between the network host and the network alarm keypad)
Open the search software (KeO software) - "Search button" in the upper left corner (the currently connected device will be displayed)

Double-click the device name you want to modify - make device modifications:
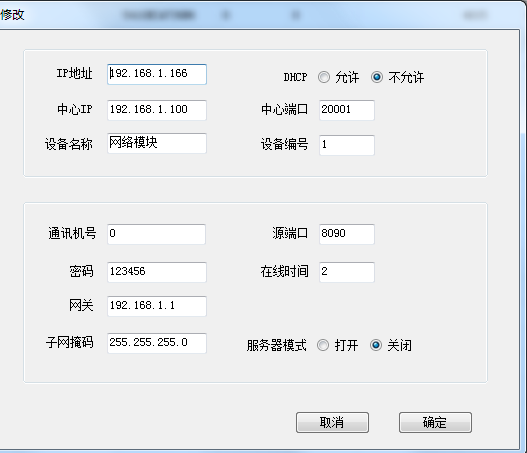
Set the IP address of the device. The center IP sets the control device corresponding to the device. The center port is 20001. The source port is 8090, the communication number is 0, the online time is 5, the password is 123456, and the gateway and mask are default (computer IP). DHCP is not allowed, and the server mode is off. Send configuration commands after setup is complete
Linkage module IP settings
Use the network cable to connect the linkage module directly to the computer, open the search software and click the search button in the upper left corner.

The device number 1-64 is the network host, and the subsequent number including 65 is the linkage module device. Correspondingly, the first linkage module device number is 65, the second is 66, and so on.
Double-click the device you want to modify to edit the device:
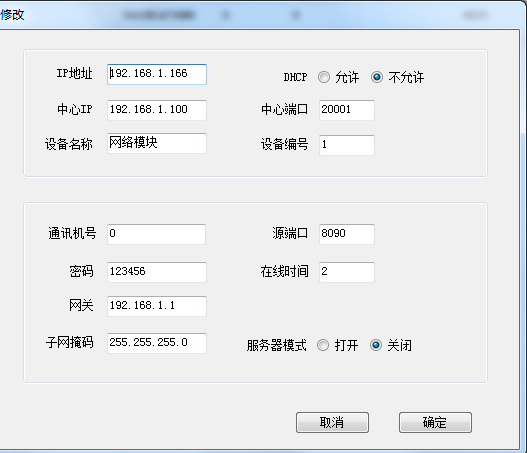
Set the IP address of the device. The center IP sets the control device corresponding to the device. The center port is 20001. The source port is 8090, the communication number is 0, the online time is 5, the password is 123456, and the gateway and mask are default (computer IP). DHCP is not allowed, and the server mode is off. Send configuration commands after setup is complete
Closing and disarming settings and testing
Connect the alarm host, linkage module, switch, and network keyboard with the network cable, and use the network keyboard to perform the arming and disarming operation to check whether the host works normally.
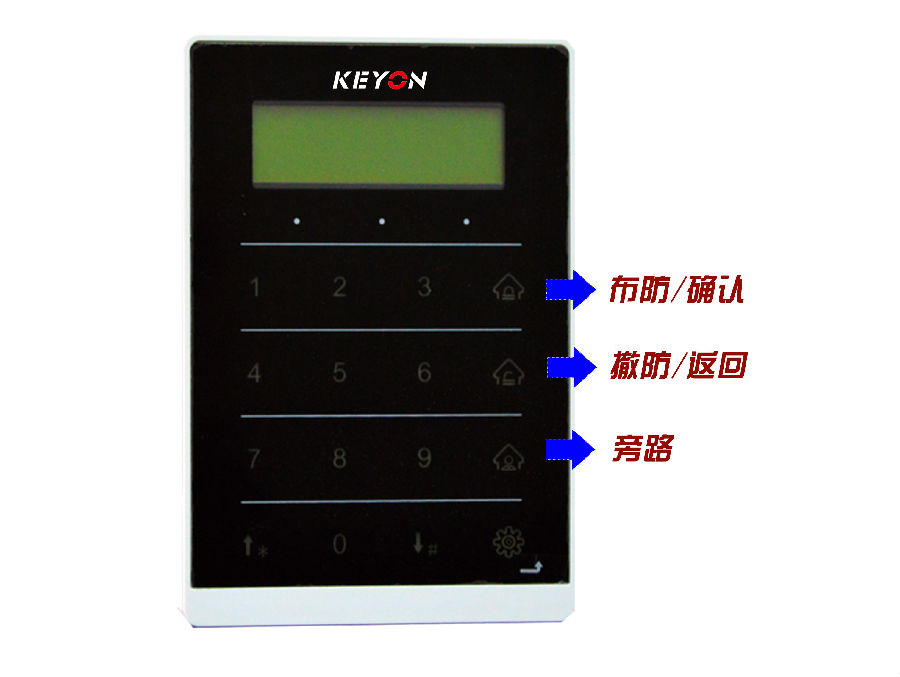
Arming - enter the password and press the "arm/confirm" button
Disarm - enter the password and press the "Disarm / Return" button
Low-voltage arming - enter the password and press the "bypass" button
Other settings for the network keyboard can be set by pressing the function key after entering the password.
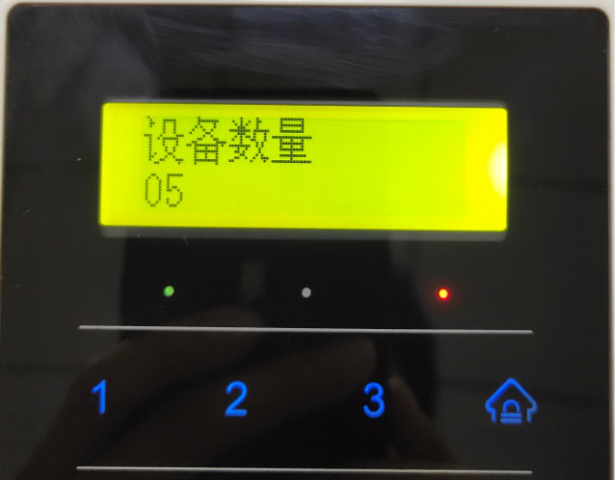
a, the number of devices set - if there are 5 devices, then the number of devices is set to 5
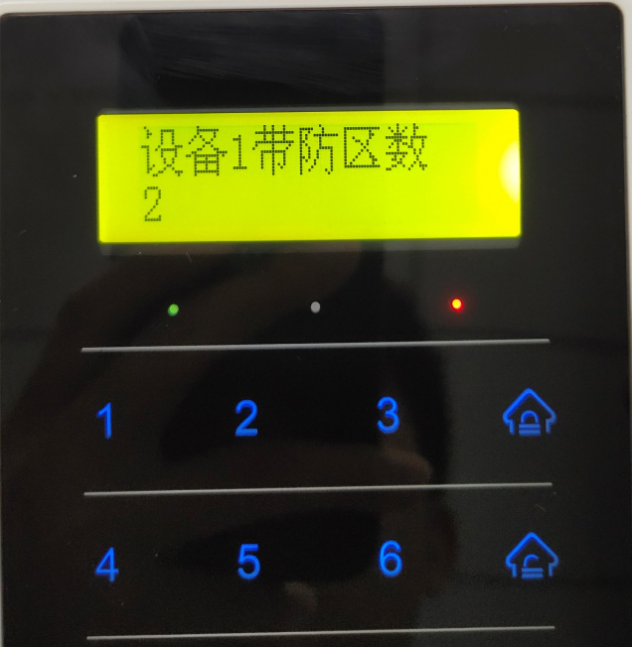
b. Number of zones controlled by the device—One host corresponds to one device number (ie, host 1 corresponds to device number 1 and host 2 corresponds to device 2). For example, in the No. 1 host dual zone, device 1 is set to 2, and single zone device 1 is set to 1.
c. Modification of the number of linkage devices - How many 16-way IP linkage relay modules are used, and the number of linkage devices is set.
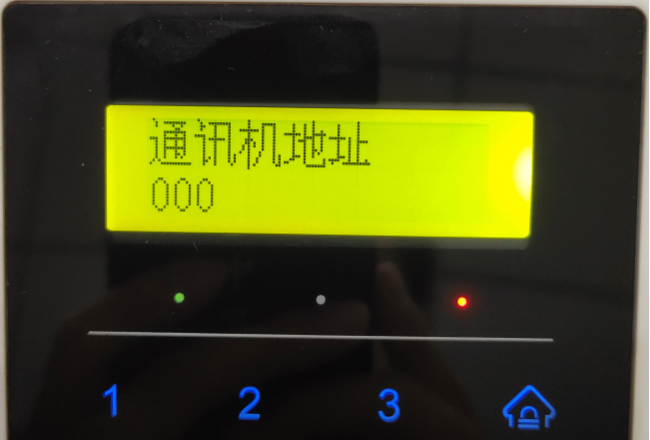
d. Scroll down to the “System Settings†item, press the Enter key to enter the option “Communication Machine Addressâ€, set the address to “000†and press the Enter key to exit.
e. Scroll down to the “Network Settings†item, enter the local IP address and change the IP address of the device, and the gateway and subnet mask of the machine. After the modification is completed, press the Enter key to exit.
f, the center 1IP address, which means that the IP address of the keyboard connected to the computer software is also the IP address of the computer.
g. Enter the destination UDP port and change the destination UDP port 1 to "20001".
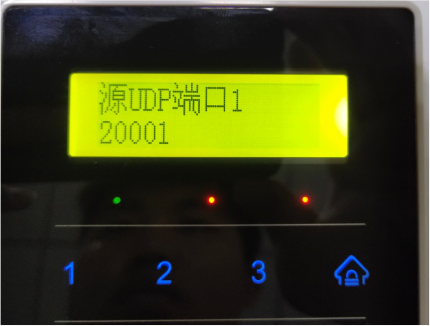
h. Enter the source UDP port and change the source UDP port 1 to 2000.
i, the server support is modified to "0"
j. Change the DHCP in the dynamic IP settings to "0".
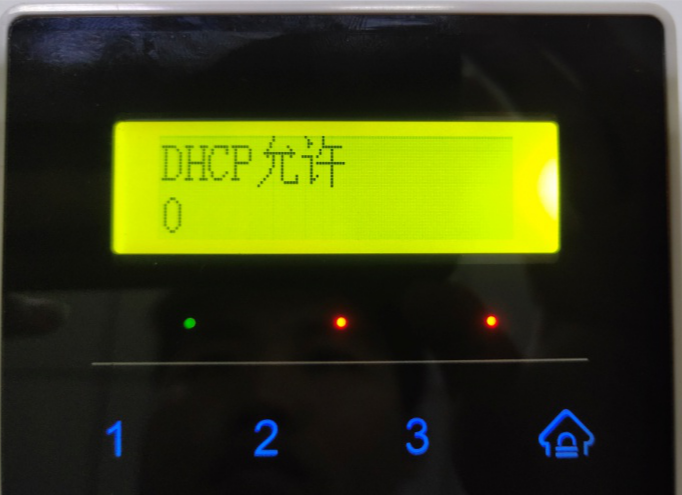
Use the conductive wire to short-circuit the corresponding control zone of the network host, and observe whether the linkage module and the network keyboard will display the alarm prompt of the corresponding zone. If the alarm is displayed and the corresponding zone is accurate, the test passes.
Network diagnosis
Use the shortcut key "win+R", enter "CMD" and click the OK button (Enter) to enter the command prompt for query.
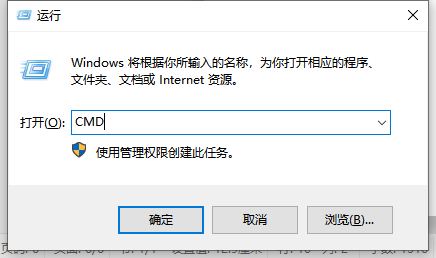
In the window that opens, type "ping" + "network host IP address" and click the Enter button.

Software installation configuration
The whole software includes a CD and an encryption port. You only need to copy the contents of the CD to the computer. You can open it without installing it. After the copy is successful, insert the encryption port into the computer and open the software.
Click the "Add Device" button at the top left.
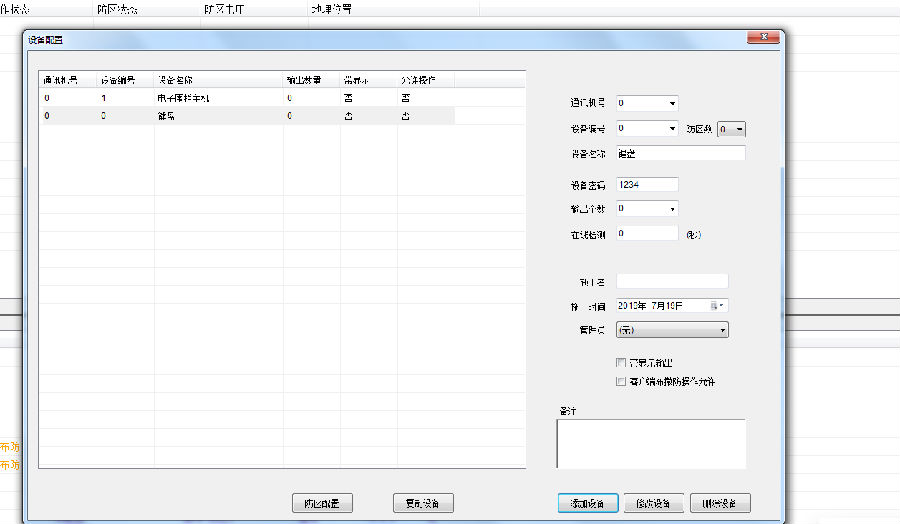
Add the devices that need to be added to the electronic fence network host, network keyboard, etc., and pay attention to the parameters on the right side to ensure that they are consistent with the device parameters.
After adding a network host, you must also set the zone defense for the network host, that is, the single zone and the dual zone. Finally, the total zone defense of all network hosts is the number of zones in the entire zone. For example, there are five network hosts, all of which are dual zones. There are a total of 10 zones, namely 1-10 zones.
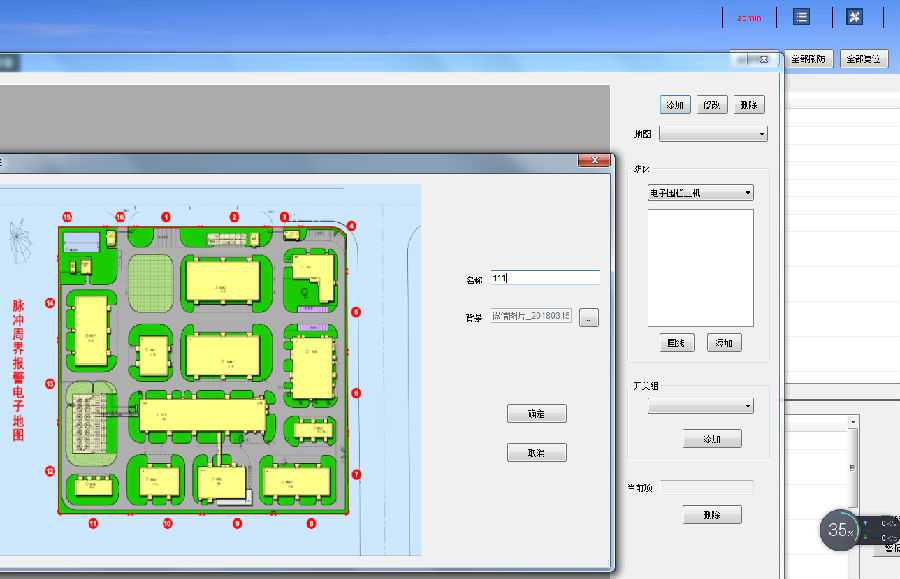
b, add an electronic map
The electronic map is based on a map that conforms to the terrain of the protected area. By manually adding the zone line, the map edge is divided into 10 zones, corresponding to the above 1-10 zones.
d, overall / separate arming and disarming
You can directly select the overall disarming and arming in the main interface of the software, or you can separate/disarm individual devices in Device Management.
The above is the whole process of installation and debugging of the X6P network electronic fence by the customer. The electronic fences on the market are similar in terms of installation. You can refer to the above steps for self-tuning.
Titanium Alloy Seamless Pipe,Titanium Tubes For Chemical Production,Thin-Walled Corrosion-Resistant Titanium Tube,High Precision Seamless Square Tube
Jiangsu Maihe New Materials Technology Co., Ltd , https://www.maihetube.com